Cut to Be Left Alone: Designing a Shape That Dries Into Place
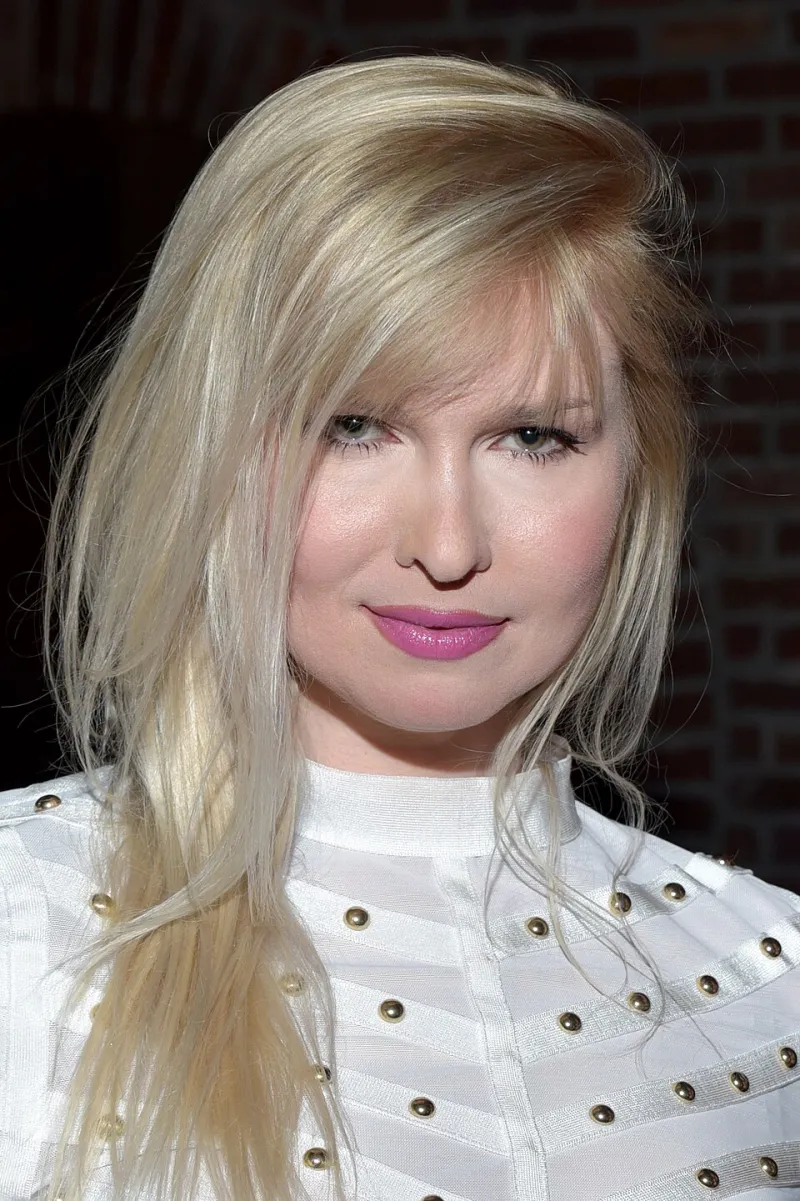
Photo: Toglenn, CC BY-SA 4.0, via Wikimedia Commons
There's a certain kind of client who sits down and says, half-apologetically, "I'm not going to blow-dry it." They say it like it's a confession. It isn't. Some of the most polished hair we see walking out of the salon never touches a round brush at all — it just happens to be cut by someone who planned for that.
An air-dry cut is not a lower-effort version of a real haircut. It's a different brief. The shape has to hold itself up with nothing but water, gravity, and whatever your hair naturally wants to do at 7:40 in the morning. Get the design right and the styling becomes almost an afterthought. Get it wrong and you'll spend twenty minutes fighting a shape that was never built to land on its own.
Weight Is the Whole Argument
Most air-dry disappointments start with too much layering. Layers remove bulk, yes, but bulk is what gives an air-dried shape its smooth surface and its direction. Take out too much and the hair separates into ribbons, the ends flip wherever they feel like it, and the whole thing reads unfinished even though it's technically clean and conditioned.
A cut built for air-drying usually keeps more weight through the mid-lengths and moves the detail to the perimeter and the face frame instead. That means fewer, broader sections rather than a cascade of fine ones. It means a stylist who's willing to leave some density in place and trust it. If your hair is fine, this is the difference between a shape that looks soft and one that looks stringy by noon.
The Perimeter Does the Polishing
The outline of a haircut is what your eye reads first from across a room, which is exactly why it matters so much when nobody's blow-drying it. A clean, deliberate perimeter — a blunt-ish baseline, a softly squared corner, a fringe line that was actually decided on — reads intentional even when the interior is a little tousled. Ragged, uncertain edges read as bedhead no matter how good the interior is.
Ask your stylist to think about the perimeter as the finished product rather than something to be softened later. And if you have a cowlick at the hairline or a part that refuses to move, say so before the first cut, not after. Those are design constraints, and a decent cutter will work around them rather than pretending they aren't there.
Ask for the Rough-Dry, Then Watch
Here's the test that separates a real air-dry cut from a hopeful one: ask to be rough-dried with no product and no brush. Not blown out, not styled — just toweled and left. Most salons will happily do this if you ask, and it takes five minutes.
What you're watching for:
- Does it fall back into place? Push a section forward, let it go, see if it returns.
- Where does it collapse? If one side goes flat while the other holds, the weight is off.
- Does the fringe behave? An air-dried fringe should sit close to how it looked when it was styled.
- Are the ends pointing anywhere in particular? Direction is a good sign. Chaos isn't.
If something's off, say it right there. A small adjustment with the scissors in hand costs nothing. Discovering it three weeks later costs a whole appointment.
Texture Is a Design Element, Not a Fix
A little texture goes a long way in an air-dried shape, and it's best added at the cut, not fought at home. Soft point-cutting at the ends, a slightly razor-touched face frame, a bit of invisible layering around the crown — these give the hair something to catch on so it doesn't lie completely flat. But texture should be a seasoning, not the meal. When in doubt, less.
Three Products, Maximum
The home routine for an air-dry cut should feel almost too simple. In practice, most people need three things and no more:
- A lightweight leave-in or air-dry cream. Applied to damp hair, raked through, not scrunched. Something with a little moisture and almost no hold.
- A texturizing mist or sea-salt spray, used sparingly. Two or three pumps at the mid-lengths and ends for grip and a slightly fuller finish. Skip it on dry, brittle hair.
- A drop of light oil or serum on the ends. Only after it's dry, and only where it looks fuzzy.
A microfiber towel or a cotton T-shirt instead of a heavy terry towel makes a genuinely noticeable difference in how smooth the dried result looks. And if you want a bit more root lift, a two-second blast of cool air at the crown with a diffuser is fine — that's not a blowout, it's a nudge.
What to Say in the Chair
The brief that works goes something like this: "I wash at night and let it dry while I sleep, or I wash in the morning and leave it. I don't want to style it. Cut it so it looks finished when I do nothing." That last sentence is the one that changes how a stylist approaches the shape.
Bring a photo of your hair air-dried on a normal day, not a good day. Bring your honest wash schedule. If you use a ponytail four days out of seven, mention it, because the perimeter and the face frame need to survive that too.
The Two-Week Verdict
Give a new air-dry cut two weeks before you judge it. The first wash or two is always strange — the hair hasn't settled into its new weight yet. By week two, the shape either falls into a routine you recognize or it doesn't. If it doesn't, call the salon. A cut designed for air-drying is usually fixable with a small tweak, not a whole new direction.
And if it does work? That's the quiet luxury of it. You'll stop thinking about your hair in the morning, which is more or less the point.